Phím tắt thông dụng trên Macbook

Phím tắt cơ bản

  • Command + C => Copy
  • Command + V => Paste
  • Command + Alt + V => Cut (Command + C = Chọn file để cut)
  • Command + Delete => Xoá
  • Command + Q => Thoát hoàn toàn ứng dụng.
  • Command + W => Thoát cửa sổ đang làm việc.
  • Command + M => Minimize.
  • Command + Shift + 3 => Chụp toàn màn hình.
  • Command + Shift + 4 + kéo chuột => Chụp màn hình vùng kéo chuột.
  • Command + Shift + 4 + Space => Chụp màn hình cửa sổ khi được trỏ chuột.
  • Spacebar => Quick look ( click vào thư mục cần xem trước )
  • Command + I ( đương nhiên phải click vào cái cần info nhé )
  • Command + “,” => Thiết lập, chỉnh sửa cài đặt chung

Phím tắt trên trình duyệt

  • Command + T => New tap
  • Command + R => Refresh
  • Command + Control + F => Full screen
  • Command + D => Đánh dấu trang vào Bookmark
  • Command + Link => Mở link trong tab mới
  • Command + “+” => Zoom in
  • Command + “-“ => Zoom out -
  • Command + 0 => Size mặc định của trang web

Phím tắt trên iTunes

  • Command + T => full visualizes
  • Spacebar => Play/Pause
  • Command + Shift + M => Mini itunes


Control Panels for Managing a CentOS Server

CentOS Web Panel

  • Cài đặt
    • Thực hiện theo link http://centos-webpanel.com/cwp-installation
    • Thực hiện các lệnh sau
1
2
3
4
5
6
7
8
yum -y install wget
yum -y update
reboot

cd /usr/local/src
wget http://centos-webpanel.com/cwp-latest
sh cwp-latest
reboot
  • Tham khảo:
    • http://centos-webpanel.com/

Webmin

  • Cài đặt
    • Thực hiện theo link http://doxfer.webmin.com/Webmin/Installation
    • Thực hiện các lệnh sau để cài đặt
1
2
3
4
5
6
7
(echo "[Webmin]
name=Webmin Distribution Neutral
baseurl=http://download.webmin.com/download/yum
enabled=1
gpgcheck=1
gpgkey=http://www.webmin.com/jcameron-key.asc" >/etc/yum.repos.d/webmin.repo;
yum -y install webmin)
  • Mở port
    • Lấy iptable chuyển vào tập tin tạm
    • Chỉnh sửa theo nội dung
    • Ghi đè vào iptable
    • Khởi động lại tường lửa (firewall)
1
2
iptables-save > /tmp/tabsav
vi /tmp/tabsav

Nội dung của file tabsav

1
2
3
4
5
6
7
8
9
10
11
12
13
14
# Generated by iptables-save v1.4.7 on Thu Sep 26 00:02:49 2013
*filter
:INPUT ACCEPT [0:0]
:FORWARD ACCEPT [0:0]
:OUTPUT ACCEPT [3044:1198306]
-A INPUT -m state --state RELATED,ESTABLISHED -j ACCEPT
-A INPUT -p icmp -j ACCEPT
-A INPUT -i lo -j ACCEPT
-A INPUT -p tcp -m state --state NEW -m tcp --dport 10000 -j ACCEPT
-A INPUT -p tcp -m state --state NEW -m tcp --dport 22 -j ACCEPT
-A INPUT -j REJECT --reject-with icmp-host-prohibited
-A FORWARD -j REJECT --reject-with icmp-host-prohibited
COMMIT
# Completed on Thu Sep 26 00:02:49 2013
1
2
3
iptables-restore < /tmp/tabsav
firewall-cmd --zone=public --add-port=10000/tcp --permanent
firewall-cmd --reload
  • Sử dụng
    • Mở link https://192.168.1.100:10000/ => ip của máy
    • User & Pass là mật khẩu đăng nhập của máy
  • Tham khảo:
    • http://www.webmin.com/

Tham khảo

  • https://en.wikipedia.org/wiki/Comparison_of_web_hosting_control_panels
  • http://www.hostingadvice.com/blog/cpanel-vs-plesk-vs-webpanel/
  • http://www.tecmint.com/web-control-panels-to-manage-linux-servers/
  • http://www.nuxified.org/article/best-control-panels-if-any-managing-linux-server


CentOS

## Các bước khi bắt đầu

    1. Cấu hình mạng:
      • centos 7 - http://www.krizna.com/centos/setup-network-centos-7/
      • centos 6 -
        • https://gist.github.com/fernandoaleman/2172388
        • http://superuser.com/questions/637798/unable-to-access-the-internet-in-centos-from-a-static-ip
    1. Cài đặt apt: http://everyday-tech.com/apt-get-on-centos/ (sử dụng yum thay vì apt <div class=’bogus-wrapper’>
      <div class=”highlight”><table><tr><td class=”gutter”><pre class=”line-numbers”>1

</pre></td><td class=’code’><pre>yum install apt</pre></td></tr></table></div></figure></notextile></div>

https://www.rackaid.com/blog/linux-screen-tutorial-and-how-to/#switching https://tournasdimitrios1.wordpress.com/2010/11/04/linux-the-screen-command-a-must-for-ssh/

Download và cài đặt

Cài đặt apt-get

  • Tham khảo: http://everyday-tech.com/apt-get-on-centos/

Jailbreak iPhone/iPad

Hướng dẫn Jailbreak trên MacOS

  • B1: Tải phần mềm mới nhất của PP jailbreak trên trang http://www.iphonehacks.com/download-pp-jailbreak .
  • B2: Kết nối máy tính sử dụng USB cable.
  • B3: Tắt Passcode trong Settings > Touch ID & Passcode.
  • B4: Tắt Find my iPhone trong Settings > iCloud > Find my iPhone.
  • B5: Tắt iTunes và xCode trước khi mở PP Jailbreak.
  • B6: Mở file PP Jailbreak dmg và copy tập tin app vào thư mục Application.
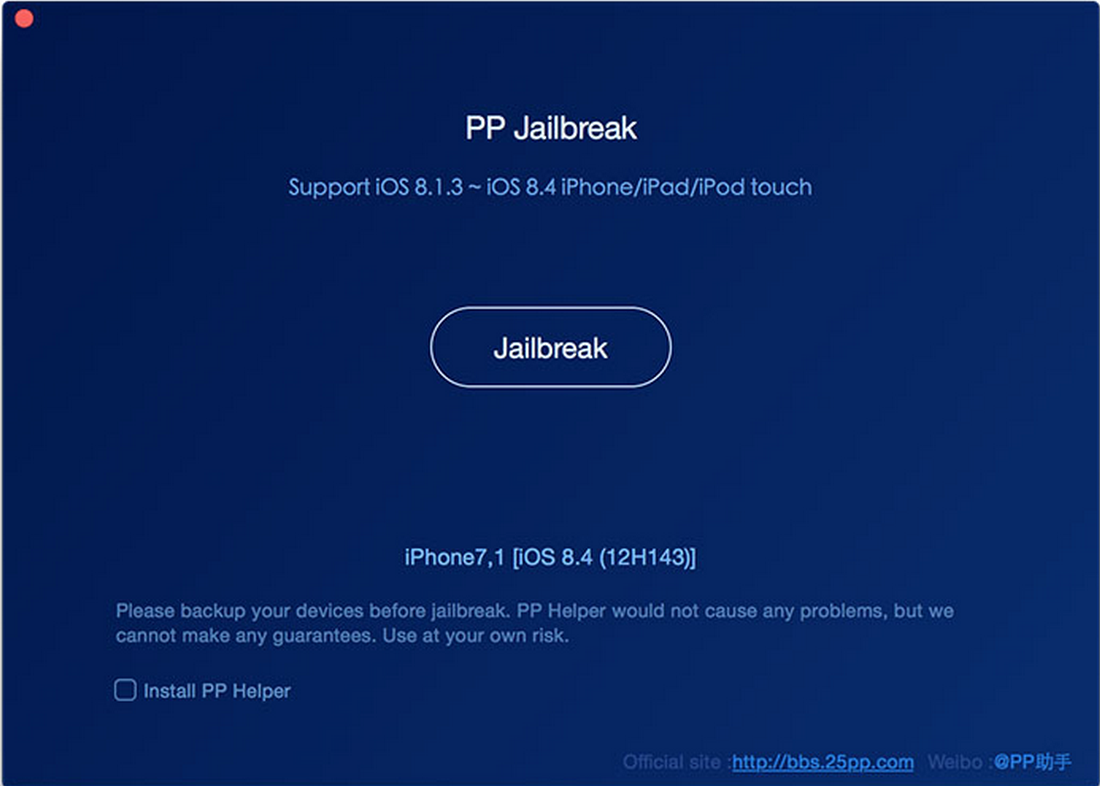
  • B7: Mở ứng dụng PP Jailbreak. Sẽ xuất hiện màn hình như bên dưới

  • B8: Nhấn nút Jailbreak ở giữa màn hình để bắt đầu jailbreak.
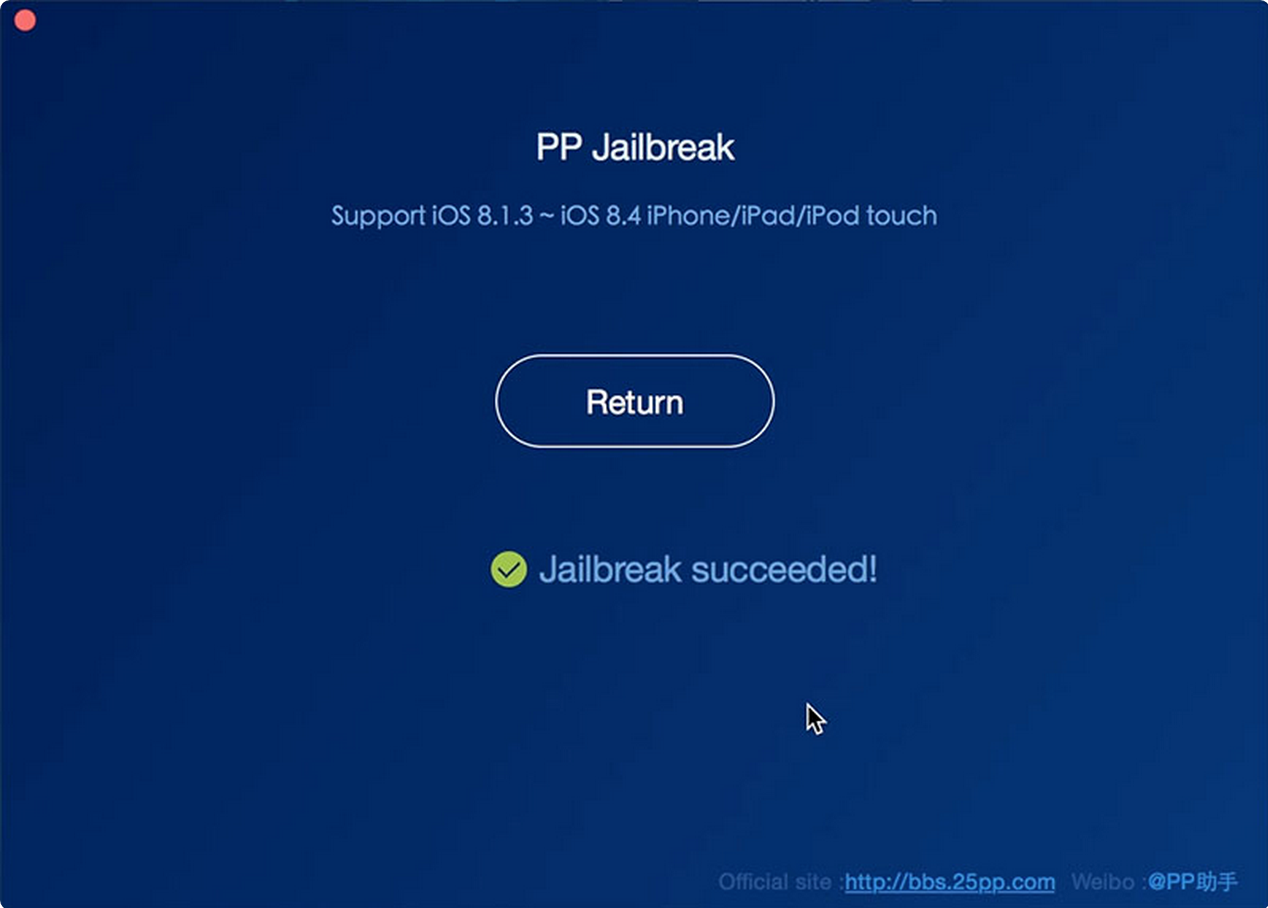
  • B9: Chờ trong 1 khoảng thời gian để ứng dụng jailbreak máy.
  • B10: Sau khi jailbreak thành công sẽ có màn hình như bên dưới.

Cài đặt appsync

  • Mở ứng dụng Cydia
  • Chọn phần Sources > Edit
  • Chọn Add để thêm các source sau vào
    • http://repo.appvv.com
    • http://repocydia.com
    • http://repo.hackyouriphone.org
    • http://cydia.angelxwind.net
    • Nếu có hỏi thì chọn “Add anyway” và update …
  • Sau đó chọn done
  • Vào phần Search gõ AppSync > Install

Một số tweak của iOS 8.4

  • Mirmir: mở nhiều ứng dụng cùng lúc
  • Callbar: thu nhỏ màn hình nghe điện thoại ở góc trên
  • StickerMe: nhắn tin iMessage giống giống facebook
  • Applocker/BioProtect: khóa ứng dụng
  • iFile: quản lý tập tin
  • Tham khảo: http://cydia.vn/tong-hop-cac-tweak-lam-cho-ios-8-4-cua-ban-hoan-hao/

Xử lý lỗi khi bị treo táo

  • B1: Download firmware mới nhất và tương thích với thiết bị iOS của bạn từ liên kết ở trên. Để firmware ở thư mục nào đó mà bạn dễ tìm kiếm.
  • B2: Kết nối iPhone bị treo táo vào máy tính, lúc này máy tính sẽ không nhận iPhone và bạn cần phải đưa iPhone về chế độ DFU Mode để iTunes có thể nhận iPhone. Nói nôm na ra thì DFU Mode là chế độ đặc biệt mà khi ở chế độ này iTunes sẽ nhận iPhone dù máy có bị treo, nhờ vậy bạn có thể tiến hành restore máy để khắc phục lỗi treo táo. Cách đưa iPhone về DFU
    • Kết nối iPhone bị treo táo vào máy tính
    • Nhấn đồng thời nút home và nguồn trong vài giây cho tới khi máy tắt hẳn
    • Sau đó bỏ nút nguồn ra nhưng vẫn tiếp tục giữ phím home cho tới khi iTunes báo có thiết bị iOS đang kết nối ở chế độ “Recovery mode”
    • Lưu ý là lúc iTunes báo nhận thì màn hình iPhone vẫn đen như đang tắt.
  • B3: Trên iTunes, bạn có thể nhấn “restore” để iTunes tự download firmware mới nhất từ Apple. Hoặc các bạn có thể nhấn Shift + click vào Restore (Windows) hoặc Option + Restore (OS X) và chọn đường dẫn đến cái firmware mà bạn đã download ở bước 1. Chờ iTunes restore lại thiết bị và máy của bạn sẽ hết bị lỗi treo táo.

Tài liệu tham khảo

  • http://www.iphonehacks.com/2015/07/how-to-jailbreak-ios-8-4-on-mac-using-pp-jailbreak.html
  • http://www.techrum.vn/threads/co-ban-cach-khac-phuc-khi-thiet-bi-ios-bi-treo-logo-khoi-dong-loi-treo-tao.18662/

Hugo

TODO

  • Tham khảo: http://gohugo.io/

Android - automation test

Monkeyrunner

Robotium

Scirocco

Robolectric

  • http://www.softwaretestinghelp.com/5-best-automation-tools-for-testing-android-applications/
  • http://stackoverflow.com/questions/12237314/android-test-automation-tools

  • http://developer.android.com/training/testing/ui-testing/espresso-testing.html